AC Installation in Castaic, CA


AC Installation in Castaic, CA
Installing a new air conditioner is one of the most effective ways to improve comfort, lower energy bills, and protect your home from Castaic's hot, dry summers and occasional dusty or smoky conditions. This page walks you through the full AC installation process for Castaic, CA homes: the pre-install consultation, site assessment, equipment choices (split systems, packaged units, ductless options), the step-by-step installation and commissioning, safety checks, system testing, warranty registration, and exactly what you should expect on installation day.
Why a proper AC installation matters in Castaic
Castaic homes face high cooling loads during long summer days. Poorly sized or improperly installed systems will underperform, cycle frequently, and cost more to operate. Local factors like attic heat gain, dry dusty air, and intermittent wildfire smoke make correct equipment selection, filtration, and proper ductwork especially important for both comfort and indoor air quality.
Common AC installation types for Castaic homes
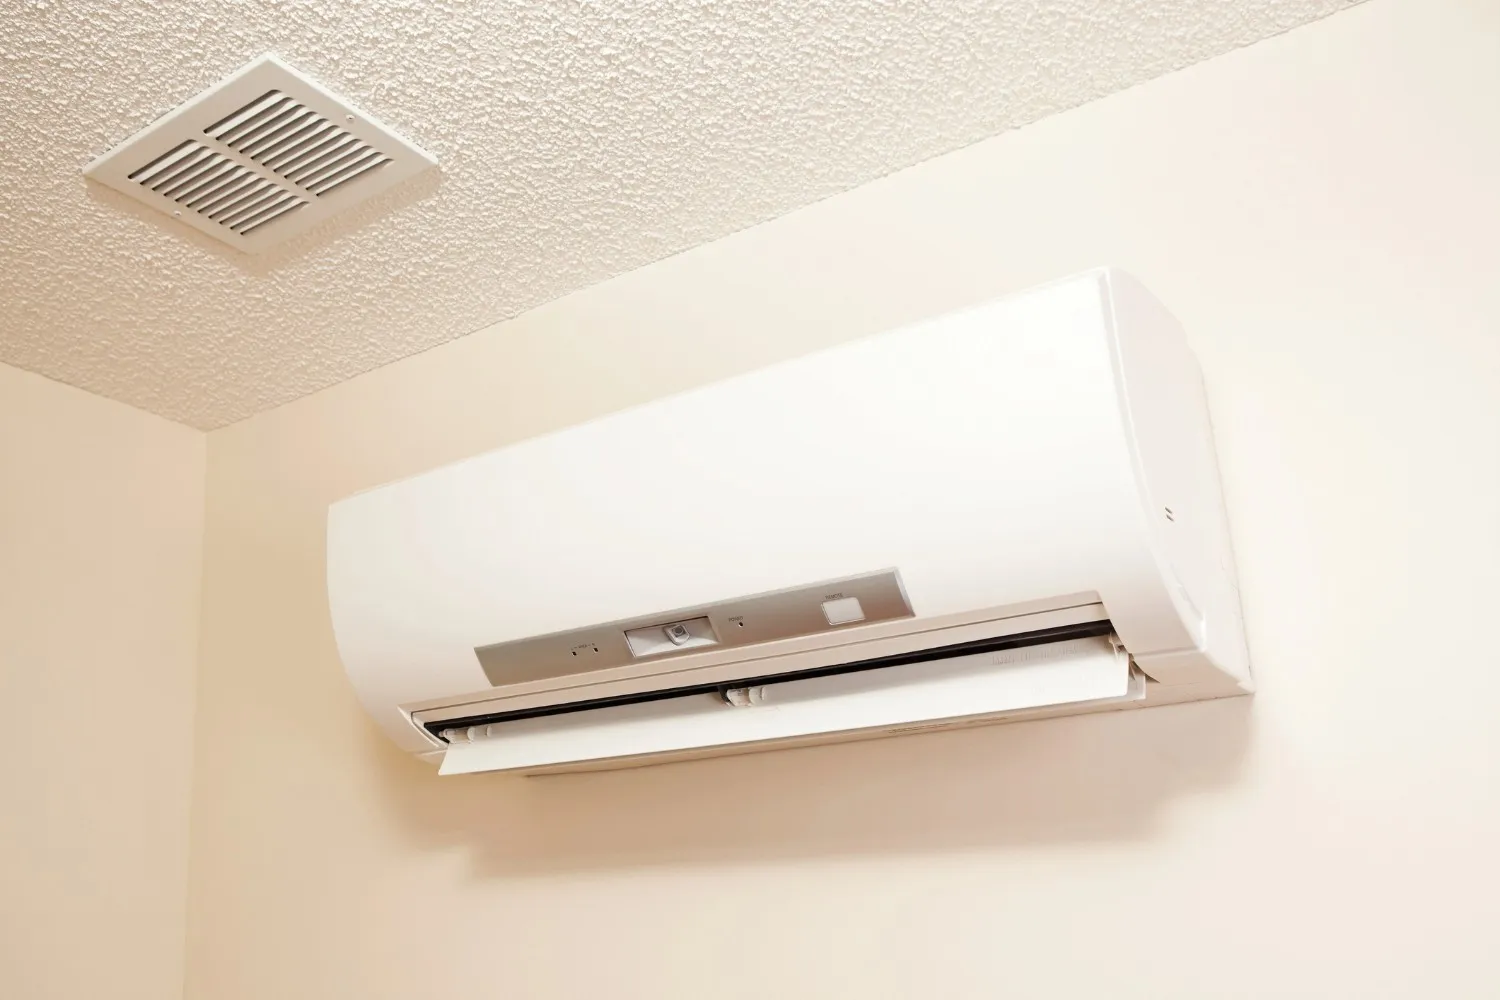
- Split systems (central air): Most common for single-family homes with existing ductwork. Efficient, quiet, and available in high-efficiency models.
- Packaged units: Contain all components in one outdoor cabinet — a good option when indoor mechanical space is limited.
- Ductless mini-splits: Ideal for room additions, older homes without ducts, or targeted zoning to reduce energy use.
- Heat pump systems: Offer both cooling and efficient heating year-round and can be a good option if you are replacing aging equipment.
Typical concerns and problems homeowners face
- Undersized or oversized equipment that short cycles and fails to keep consistent temperatures
- Leaky, uninsulated, or poorly routed ductwork that reduces airflow and increases energy use
- Inadequate electrical service or missing disconnects and breakers for a new condenser or heat pump
- Poor refrigerant charge or improper airflow from misaligned duct sizing or blocked returns
- Increased dust and smoke infiltration without adequate filtration or air cleaning
Pre-install consultation and site assessment
A thorough pre-install visit includes:
- Load calculation: A Manual J assessment to size the system to your home, not just the square footage
- Ductwork evaluation: Checking leaks, insulation levels, static pressure, and return placement
- Electrical check: Verifying service capacity, breaker sizing, disconnect location, and conduit/run feasibility
- Placement review: Locating the condenser, evaporator coil, and routing for line sets, condensate, and ventilation
- IAQ review: Recommending filters, UV, or whole-home air cleaning if dusty or smoky conditions are a concern
- Permit and code review: Ensuring the project will comply with California building codes and local permit requirements
Equipment selection considerations
- Efficiency: Look at SEER and HSPF ratings appropriate for California climates; higher efficiency reduces operating cost in long, hot seasons
- Right sizing: Systems should be matched to calculated load and duct capacity, not oversized to compensate for other issues
- Refrigerant type: Newer refrigerants and equipment may be required to meet current regulations and improve environmental performance
- Noise and placement: Choose condenser locations that minimize noise impact to living spaces and neighbors
- Indoor air quality options: High-efficiency filters, MERV ratings, and optional air purifiers help manage dust and smoke
Step-by-step installation and commissioning
- Preparation: Secure permits if required, prepare the site, and protect floors and landscaping.
- Disconnect and removal: Safely decommission and remove the old equipment, reclaim refrigerant per regulations, and clear the area.
- Ductwork and structural work: Repair or modify duct runs, install new duct sections, add insulation and sealing where needed.
- Electrical installation: Run wiring, install a dedicated breaker and disconnect, and verify proper grounding and surge protection if applicable.
- Equipment placement: Set the condenser on a level pad, mount the indoor coil or air handler, and connect line sets and condensate drains.
- Refrigerant charge and airflow setup: Evacuate and charge the system to manufacturer specifications, and verify supply and return airflow.
- Controls and thermostat: Install and program the thermostat, set zoning controls if present, and test remote sensors or Wi-Fi features.
- System commissioning: Measure temperature split, static pressure, refrigerant pressures, and verify electrical draw. Confirm safety controls, including high-pressure cutouts, float switches, and condensate backups.
- Final cleanup and documentation: Remove debris, test operation through full cycles, and provide manuals and warranty forms.
Safety checks and system testing
- Refrigerant leak check and verification of correct charge
- Electrical safety: proper breaker sizing, wiring integrity, and verified disconnect
- Condensate drain flow and secondary protection to prevent water damage
- Safety control operation: pressure switches, limit controls, and float switches
- Performance testing: temperature differential, airflow measurements, and overall system efficiency verification
Warranty registration and paperwork
Manufacturers often require registration to activate full warranty coverage. Proper documentation typically includes:
- Model and serial numbers for indoor and outdoor units
- Installation date and installer information
- Permits and inspection paperwork where required
- Any commissioning measurements or invoices that prove correct installation and startup
What homeowners should expect on installation day
- Arrival window and identification: Technicians should arrive in uniform with proper ID and explain the work plan
- Access needs: Clear access to attic, furnace/air handler area, electrical panel, and outdoor condenser location
- Preparation: Technicians will protect floors and landscaping, and isolate the work area
- Noise and time: Expect several hours of work for a central system replacement; some noise during removal and condenser placement
- Communication: Technicians should explain any duct or electrical repairs discovered and document recommended fixes
- Final walkthrough: A demonstration of thermostat use, filter locations, maintenance tips, and review of warranty paperwork and manuals
Post-install benefits and maintenance tips
A correctly sized and installed system will:
- Provide consistent, even comfort during Castaic’s hot months
- Run more efficiently and reduce monthly cooling costs
- Improve indoor air quality when paired with proper filtration and IAQ accessories
- Last longer and require fewer repairs with professional commissioning
Maintenance recommendations:
- Replace or clean filters regularly, especially after dust storms or wildfire smoke events
- Schedule annual tune-ups for refrigerant checks, coil cleaning, and airflow verification
- Inspect ducts every few years for leaks and insulation degradation
- Keep the outdoor condenser clear of debris and maintain proper airflow around the unit
A professional AC installation tailored to Castaic’s climate and your home’s unique needs ensures reliable comfort, lower operating costs, and long-term performance. Proper planning, code compliance, and careful commissioning are essential for getting the most from your new system.