Transitioning Your HVAC System from Cooling to Heating Season
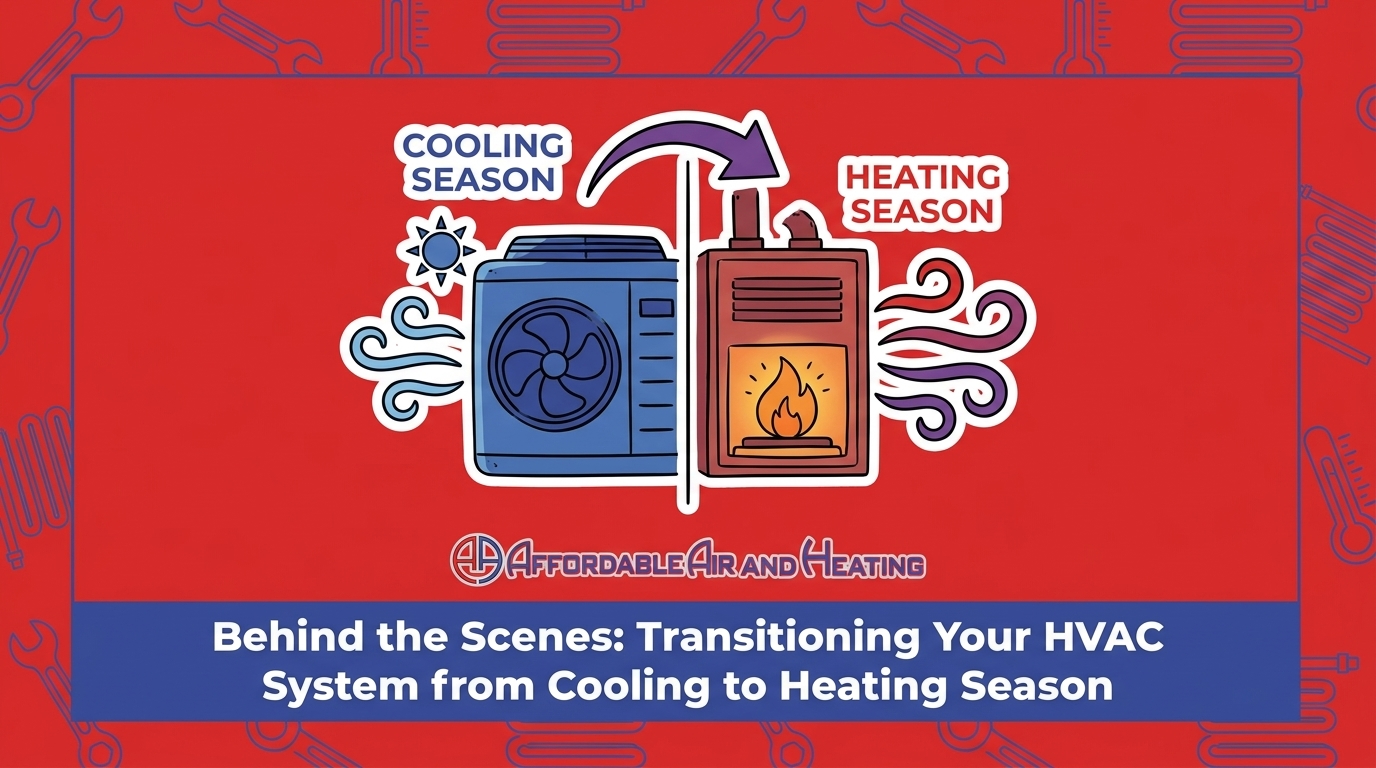


The Critical Shift: Preparing for the First Cold Snap
Your air conditioner is exhausted after running nonstop all summer, and that strange noise from your furnace isn't going away on its own. Transitioning your HVAC system from cooling to heating season is a critical decision point where hidden wear and tear from the summer collides with the sudden demands of winter heating. Before you flip the thermostat from "cool" to "heat" for the first time, a professional evaluation ensures your system is safe, reliable, and ready for the drop in temperature. Whether you need comprehensive HVAC services or targeted heating system maintenance, our technicians are here to help.
The Lancaster high desert climate is notoriously unforgiving on mechanical equipment. Your home's HVAC system must endure massive temperature swings, shifting from extreme triple-digit summer heat to sudden freezing winter temperatures in a matter of weeks. This violent environmental shift places an enormous burden on both your air conditioning components and your dormant heating equipment.
When our technicians arrive for a fall tune-up, we are not just changing a filter and wiping down a cabinet. We are performing a comprehensive, behind-the-scenes evaluation of two entirely different mechanical systems. The challenge is safely shutting down an AC unit that has run hard for months while simultaneously firing up a gas furnace that has sat inactive since last winter. If this transition is mishandled, you risk unexpected breakdowns during the first major cold snap.
The Mechanical Shock of Seasonal Changes
Think about the physical stress of thermal expansion and contraction. Throughout the summer, your outdoor compressor has been baking in the sun while handling high-pressure refrigerant. Meanwhile, your indoor furnace burners and heat exchanger have been sitting cold, collecting dust, and remaining completely inactive. When the weather turns, asking that dormant furnace to suddenly generate intense heat without a proper inspection is a recipe for mechanical failure.
What our professionals look for: We evaluate the overall structural integrity of the system first. This means checking for rust, corrosion, and metal fatigue that may have developed during the off-season. We also inspect the electrical connections, which can loosen over time due to the constant vibration of the blower motor. By walking through our exact professional methodology, we ensure that every component is physically prepared for the shift in seasonal workload.
Evaluating the Toll of Extreme Summer Heat
Properly shutting down your air conditioning requires a thorough post-summer evaluation. We do not just turn off the AC and walk away. The cooling equipment has just finished a grueling marathon, and leaving it uninspected until next spring guarantees that minor wear-and-tear will evolve into major component failure.
Our local expertise plays a major role here. We know exactly how to identify specific high desert dust and heat damage on cooling components. The fine, abrasive dust native to our region gets pulled into the outdoor condenser coils, suffocating the system and forcing the compressor to work harder. Over time, this bakes the internal wiring and degrades the capacitors.
The Professional AC Shutdown Checklist
During an early fall transition, our technicians perform a meticulous shutdown sequence to protect your cooling equipment for the winter:
1. Capacitor Stress Testing: Capacitors store electrical energy to jump-start the compressor and fan motors. Summer heat degrades their internal fluids. We measure the microfarads to ensure they are still within the manufacturer's safe operating range.
2. Fan Motor Evaluation: We check the condenser fan motor for bearing wear. If the motor is pulling too many amps, it means the bearings are failing due to heat stress and dust infiltration.
3. Coil Debris Removal: We clear out the accumulated dirt, leaves, and high desert sand from the outdoor unit. Leaving this debris inside the cabinet over the winter promotes rust and corrosion.
4. Refrigerant Line Inspection: We inspect the insulation on the suction line. If the summer sun has rotted the insulation away, we replace it to prevent energy loss and condensation issues next year.
A unit that has run for more than 30 years can finally give out during a brutal summer stretch. Catching extreme wear early prevents these situations from catching you off guard.
The Heat Exchanger Inspection: A Non-Negotiable Safety Check
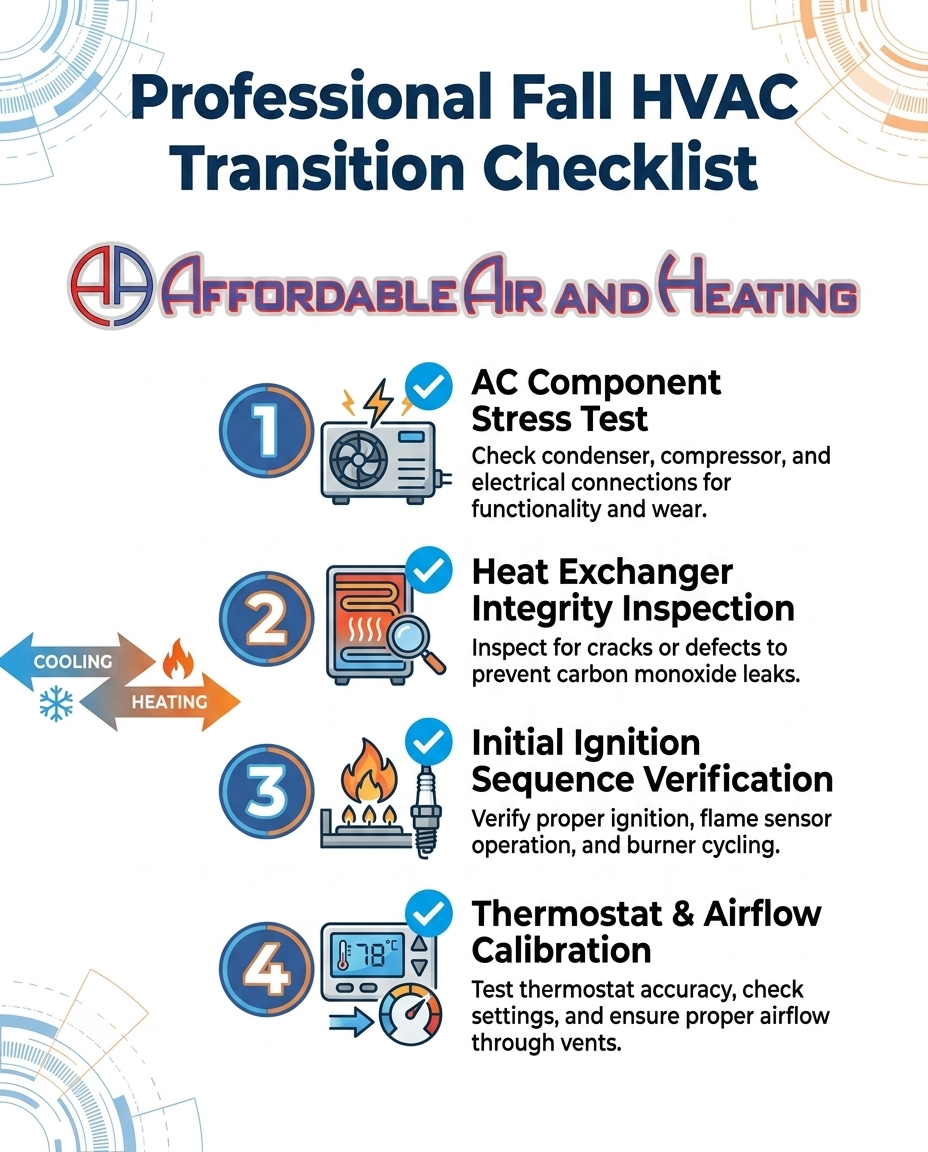
Of all the steps in our fall methodology, the heat exchanger inspection is the most critical. The heat exchanger is the absolute heart of a safe gas heating system. It is a series of metal tubes or coils that separate the toxic combustion gases (created by burning fuel) from the clean air that gets blown into your home's ductwork.
When the furnace runs, the heat exchanger gets incredibly hot, expanding the metal. When the furnace turns off, the metal cools and contracts. Over years of operation, this constant expansion and contraction can cause the metal to fatigue and crack. A cracked heat exchanger is a primary cause of carbon monoxide leaks in residential homes, which is why this specific check can never be treated as a DIY project.
How We Inspect for Hidden Dangers
Because the heat exchanger is buried deep inside the furnace cabinet, you cannot simply look at it from the outside and know if it is safe. Our technicians use specialized professional tools to verify its integrity.
• Visual Borescope Cameras: We insert a high-definition, flexible camera into the burner tubes to inspect the inner walls of the heat exchanger for microscopic hairline cracks, rust, or soot buildup.
• Combustion Gas Analyzers: We test the exhaust gases to measure the exact levels of oxygen, carbon monoxide, and carbon dioxide. Abnormal readings immediately alert us to a breach in the system.
• Flame Pattern Observation: We watch how the burner flames behave when the blower motor kicks on. If the flames waver or dance, it often indicates that air from the blower is pushing through a crack in the heat exchanger.
• Normal Operation — Visual Symptoms: Steady, crisp blue burner flames. — Professional Diagnostic Result: Clean combustion analysis, zero CO in the airstream.
• Minor Soot Buildup — Visual Symptoms: Yellow or orange tips on the burner flames. — Professional Diagnostic Result: Improper fuel-to-air ratio, requiring burner cleaning.
• Cracked Heat Exchanger — Visual Symptoms: Dancing flames when the blower activates. — Professional Diagnostic Result: Dangerous CO levels detected; system must be shut down.
The bottom line on safety: If we find a compromised heat exchanger, the furnace cannot be operated safely. Bypassing this inspection before the heavy heating season puts your entire household at risk.
Monitoring the Furnace's First Ignition
Once we have verified that the heat exchanger is intact and the system is mechanically sound, we move on to the actual mechanical realities of turning the furnace on. The initial furnace ignition sequence is a complex series of automated safety checks that happen in a matter of seconds. If any single component fails its check, the furnace will lock itself out and refuse to produce heat.
Our technicians do not just turn the thermostat up and listen for warm air. We stand at the open furnace cabinet and physically monitor every step of the startup sequence to ensure the safety relays are communicating correctly.
The Ignition Sequence Breakdown
Here is exactly what we test during that critical first firing:
1. The Draft Inducer Motor: This small fan turns on first to clear residual gases out of the heat exchanger and push them up the flue pipe. We verify it is pulling enough vacuum to satisfy the safety switch.
2. The Pressure Switch: This switch confirms the inducer motor is actually venting air. If a bird's nest or debris is blocking your exhaust pipe, this switch prevents the furnace from turning on.
3. The Igniter: Depending on the age of your system, this is either a sparking mechanism or a hot surface igniter that glows bright orange. We check for proper voltage and resistance.
4. The Gas Valve and Burners: We ensure the gas valve opens smoothly and the burners ignite evenly without any delayed ignition (which causes a loud, dangerous "boom" inside the cabinet).
5. The Flame Sensor: This tiny metal rod sits in the path of the fire. If it does not detect a flame within three seconds, it shuts the gas valve down to prevent your home from filling with unburned gas. We clean this sensor meticulously during every visit.
We frequently see what happens when these safety relays fail under pressure. During one of the coldest weeks in memory, while the area was under a freeze warning, a customer's heat stopped working entirely. Our technicians assessed the unit and identified a bad relay that had failed during startup. Due to the system's overall condition, we recommended a full replacement, and a new Goodman unit was installed so their heating now works amazingly well.
Dealing with the "Burning Dust" Smell: When the furnace fires up for the first time, you will almost always notice a distinct burning odor. Most of the time, this is simply the normal dust that has settled on the heat exchanger burning off. However, our professionals are trained to distinguish between normal burning dust and the dangerous smell of melting electrical wires or an active gas leak.
Special Considerations for Dual-Purpose Systems
If your home relies on a heat pump rather than a traditional gas furnace and separate AC, the transition process looks a bit different. Heat pumps are dual-purpose systems that handle both cooling and heating by moving heat from one place to another. Because they run year-round, they endure double the wear and tear of a standard air conditioner.
Transitioning heat pump systems for the winter requires a specific set of professional checks to ensure the system can efficiently extract heat from the outside air during cold snaps.
Testing the Reversing Valve
The reversing valve is the magic component that allows a heat pump to switch from cooling to heating. It physically reverses the flow of refrigerant through the system. During our fall maintenance visit, we cycle this valve multiple times. We listen for the distinct "whoosh" of the internal slide shifting and measure the temperature of the refrigerant lines to confirm it is fully engaging. If a reversing valve gets stuck halfway, the system will struggle to heat your home and will consume massive amounts of electricity in the process.
Verifying the Defrost Control Board
When the outdoor temperature drops near freezing, the moisture in the air can freeze onto the outdoor coils of your heat pump, turning the unit into a block of ice. To prevent this, heat pumps have a defrost control board that occasionally forces the system back into air conditioning mode for a few minutes to melt the ice (while temporarily using backup heat strips to keep your house warm).
• Sensor Calibration: We test the defrost thermostat attached to the outdoor coil to ensure it accurately reads freezing temperatures.
• Board Diagnostics: We manually force the control board into a defrost cycle to verify that the outdoor fan shuts off and the backup heat strips engage properly.
• Drainage Inspection: We ensure the melted ice has a clear path to drain away from the unit so it doesn't refreeze around the base of the equipment.
System Calibration and Airflow Verification
The final phase of our transition methodology involves dialing in the performance of the entire system. A furnace can have a perfect heat exchanger and a flawless ignition sequence, but if the thermostat is miscalibrated or the ductwork is choked, you will still be uncomfortable.
We start by calibrating the thermostat. We verify that the ambient temperature reading on the wall matches the actual temperature in the room. If you have a two-stage or modulating furnace, we force the system into its different heating stages to ensure the thermostat is communicating those specific demands correctly.
Measuring Static Pressure
The crucial test: Static pressure is essentially the blood pressure of your HVAC system. It measures how much resistance the blower motor has to fight to push air through your ductwork. If the static pressure is too high, the blower motor will overheat and fail prematurely.
We use digital manometers to measure the pressure on both the return and supply sides of the system. High static pressure usually points to a restrictive air filter, blocked return grilles, or collapsed ductwork. By identifying and resolving these airflow restrictions now, we ensure that your system delivers the correct temperature to every room.
Finally, we walk through the home to check the airflow at the registers. If you have ever experienced vents blowing warm air when they shouldn't, or weak airflow in the bedrooms, this final review process allows us to troubleshoot those unexpected behaviors. We confirm the entire system is balanced, safe, and fully prepared for the winter demands ahead.
Frequently Asked Questions
When should I switch my thermostat from cool to heat?
The best time to switch your thermostat is during early fall before the first major cold snap hits. You want to test your heating system on a mild day so that if there is a problem, you aren't left freezing overnight while waiting for a repair.
How do professionals prepare an HVAC system for winter?
Professionals prepare the system by conducting a comprehensive safety and performance evaluation. This includes safely shutting down the cooling components, inspecting the heat exchanger for cracks, testing the ignition sequence, and calibrating the airflow for winter demands.
Why is a professional inspection needed before turning on the furnace?
A professional inspection is required to prevent carbon monoxide leaks and mechanical failures. Gas furnaces that have sat dormant for months can develop rusted components, blocked flues, or cracked heat exchangers that only a trained technician with the right tools can safely identify.
Why does my heater smell when I first turn it on?
That initial smell is usually just normal household dust burning off the heat exchanger after months of inactivity. However, if the smell resembles melting plastic, electrical burning, or rotten eggs, you should shut the system down immediately and call a professional.
What exactly happens during a fall HVAC tune-up?
During a fall tune-up, a technician checks the electrical connections, cleans the flame sensor, tests the safety limits, and verifies the gas pressure. They also evaluate the wear and tear on your air conditioner to ensure it is put to bed safely for the winter.
Can I inspect my own heat exchanger for cracks?
No, inspecting a heat exchanger requires specialized training and equipment like borescopes and combustion analyzers. Hairline cracks are often invisible to the naked eye but can still leak dangerous levels of carbon monoxide into your home's airstream.
Ready for the Winter Shift?
Safely transitioning your HVAC system from cooling to heating season is about protecting your equipment and ensuring your household's safety. Don't wait for the first freezing night to discover your furnace is struggling. Schedule your heating system maintenance today so our professionals can provide the transparent, behind-the-scenes performance checks necessary to keep you comfortable all winter long.